When we talk about the size of digital images, we are actually talking about two things. On the one hand there is the width and the height of an image. For digital images, we usually measure this size in pixels. Pixels are tiny dots in different colours.
Which colour? That’s the information each pixel contains. Information is just another word for data so pixels are also small units of data. The more pixels an image has, the more information it contains and the bigger the file size, which is measured in kilobytes (KB), megabytes (MB), or gigabytes (GB).
When a digital device with a screen loads an image, this means it shows you the image pixel by pixel. The more data there is, the longer it takes for the image to load, meaning to appear on your screen.
Image File Sizes
The bigger the file size and the more pixels an image has, the clearer and sharper it is. Why? Because the pixels are either squished together or pulled apart to fit into the width and height you or the program running in the background chose.
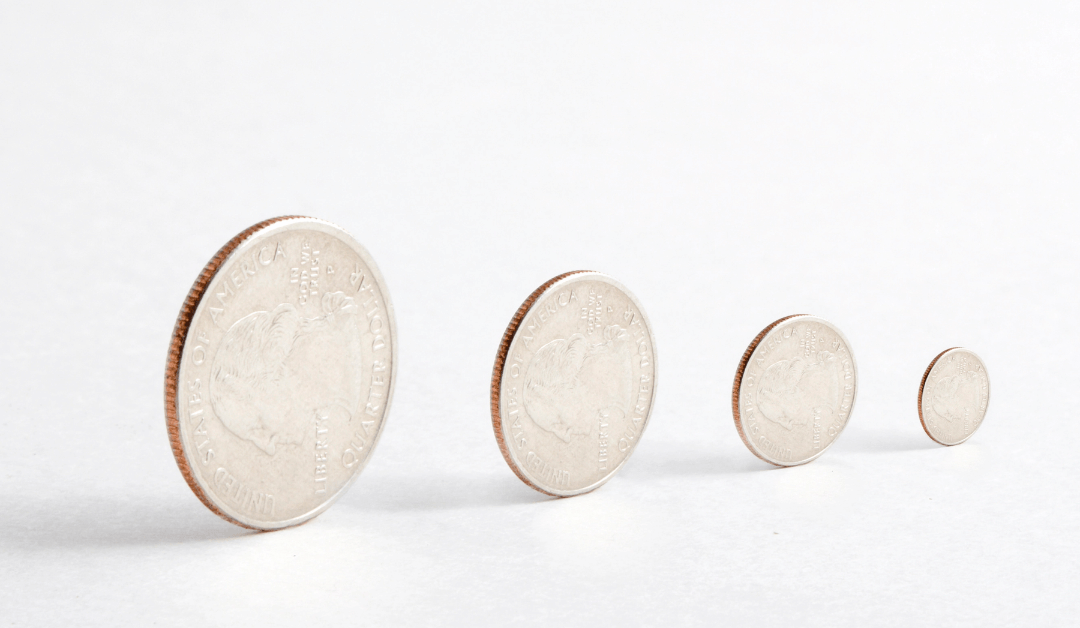
For example, look at the image at the top of this post. The theme I am using on my website determines the frame the image is fit into. It’s 1080px wide and 675px high. My original image is a featured image that is 1200px wide and 628px high. When the theme shows it at the top of this page it stretches it to fit into the frame.
If my original image was much smaller, the stretching would make the pixels look so big that you would see them. The image would turn into an impressionist painting. That’s what we call a pixellated image. On the other hand, when a picture is much bigger than the frame, the pixels are squished together and you get a very clear image.
High Definition (HD) and DPI
High Definition images are pictures that are big, meaning they have large pixel widths and heights but also have big file sizes in the megabyte or even gigabyte range. Each pixel is a data point. The more pixels, the more data and the bigger the file size.
DPI is a number that tells you the pixel density. It stands for Dots Per Inch. The lower the number, the less pixels an image has and the blurrier it is. Low DPI numbers are often recommended for websites but this information is actually outdated. Browsers have become much faster and load even big images quickly.
When you create images, download them or buy them from photographers, you always want to use 300 dpi and then compress the image afterwards. If the original image is small and you try to use it in a bigger frame, the result is dreadfully blurry. But when you start with 300 dpi, you can always shrink it to the size you need it in.
Compression
Depending on where you are going to use your digital images, you might have to resize them first. You can use image processing tools or editors to do so when you want to use a different aspect ratio for an image, for example. So when you change the pixel width and/or height.
When you only want to reduce the file size, you compress an image. Compression is a process that deletes some of the information. A compressed image is a smaller file than the original (usually in the kilobyte size range) because it contains less pixels but has the same width and height.
There are free online tools that compress your image files automatically. How exactly they work is different for each tool. With some tools you can choose how much you want to compress a file. Others are simpler and just make your images as small as possible while still delivering a clear result.
Compression tools
My favourite image compression tool is TinyPNG. It is an online tool you use in your browser. You simply upload or drag your image onto the website and the compression starts automatically. When the program is done shrinking your image files by 60-80%, you just download the new smaller picture and that’s it. TinyPNG is incredibly easy to use and I compress all my png and jpg files with it.
For GIFs I use the resize tool on Ezgif.com. This tool is a little bit more complicated because it allows you to play around with how much you want to compress your GIFs. I usually try a few different versions to get the best result because I often have text in my GIFs which needs to stay readable.
What is the image for?
Before you compress an image, ideally even before you create or download an image, you want to think about where you are going to use it and for what. If, for example, you want to use it on products, like mugs or journal covers, your original images need to be much bigger than the print version. That means bigger widths and heights, bigger file sizes and at least 300 dpi. In other words, HD images.
When you use images on websites, your priority is faster loading times because people can be a bit impatient. So you want to compress your images and GIFs. How much? That depends. If they contain text or graphics with special effects (e.g. 3D or shadows) strong compression will create blurry results.
Find the perfect file size for your purposes and understand that you need to change it depending on the context. There is no one size that fits all. Instead, play around until you have found the perfect size for you.

